
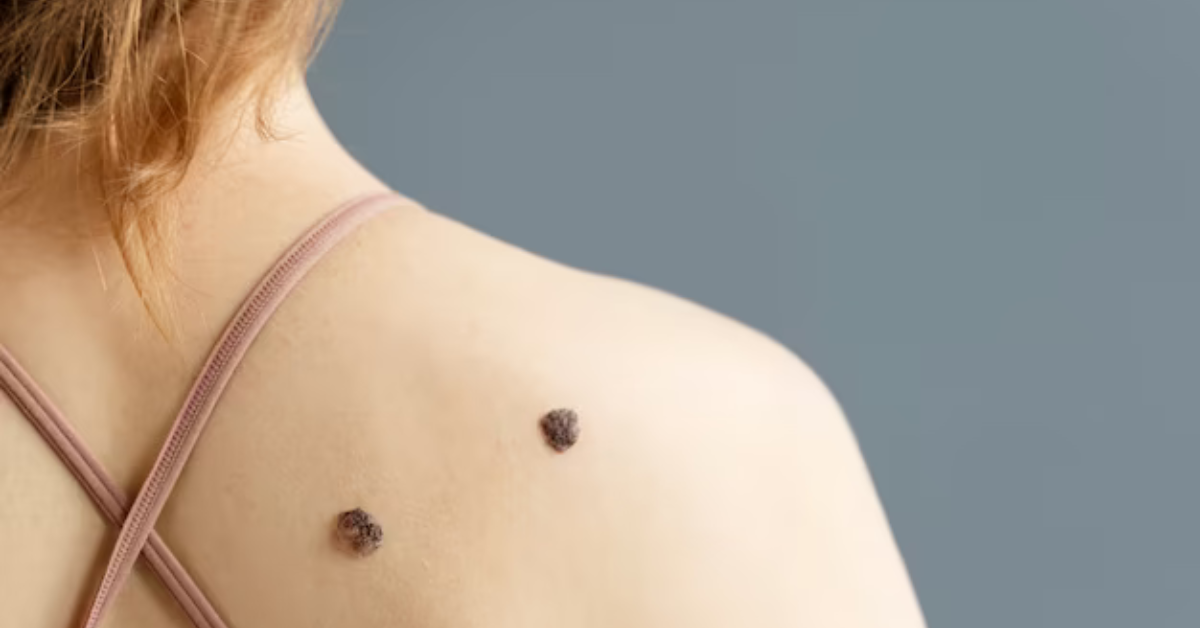
Skin tags are small, benign growths that often appear on various parts of the body, causing discomfort and sometimes self-consciousness. While there are various medical procedures available to remove skin tags, some individuals prefer exploring natural remedies. One such remedy involves using garlic, a common kitchen ingredient with potential skin benefits. In this article, we will delve into the process of using garlic to remove skin tags and discuss its effectiveness, precautions, and alternative methods.
The Science Behind Garlic’s Potential
Garlic, scientifically known as Allium sativum, is a versatile herb that has been recognized for its medicinal properties throughout history. One of its key components, allicin, is a sulfur-containing compound responsible for garlic’s distinct aroma and potential health benefits. Allicin has been studied for its antimicrobial, anti-inflammatory, and antioxidant properties. These qualities suggest that garlic could be helpful in addressing various skin issues, including skin tags.
But how to use garlic to remove skin tags,Don’t worry, in this blog you will learn in detail how you can use garlic to remove your skin tag.
Step-by-Step Guide to Removing Skin Tags with Garlic
Step 1: Gather Your Supplies :
Before you start the process of using garlic to remove a skin tag, ensure that you have the necessary supplies on hand:
Fresh garlic cloves
Clean cotton balls or medical tape
Petroleum jelly (optional)
Sterile gauze or bandage
Step 2: Preparing the Area :
Begin by cleaning the skin tag and the surrounding area with a mild soap and water. This helps to eliminate any dirt, oils, or bacteria that might interfere with the treatment.
Gently pat the area dry using a soft, clean towel.
Step 3: Applying Garlic :
Peel and crush a garlic clove to release the allicin compound, which holds the potential for affecting the skin tag.
If you’re concerned about potential irritation on the healthy skin surrounding the skin tag, you can apply a small amount of petroleum jelly to this area. This acts as a protective barrier.
Using a clean cotton ball, carefully apply the crushed garlic directly onto the skin tag.
To ensure the garlic remains in contact with the skin tag, gently secure the cotton ball with medical tape.
Step 4: Allowing Time for Application:
The next step involves leaving the garlic in place for a specific duration. It’s recommended to start with a shorter period, such as 15 minutes, and gradually increase the time up to a few hours.
As you wait, closely monitor the area for any signs of adverse reactions, such as redness, itching, or discomfort. If you experience any of these symptoms, remove the garlic immediately.
Step 5: Cleaning and Aftercare :
After the designated duration has passed, carefully remove the garlic from the skin tag.
Cleanse the area once again with a mild soap and water to remove any remnants of garlic.
Gently pat the area dry with a clean, soft towel.
To prevent potential contamination or irritation, apply a clean, sterile gauze or bandage over the treated area.
Step 6: Repeat as Necessary :
The process of garlic application might need to be repeated daily until you begin to notice visible changes in the skin tag’s appearance.
Over time, you might observe that the skin tag darkens, shrinks in size, or eventually falls off.
Precautions and Tips
- Skin Sensitivity: It’s important to recognize that garlic can cause skin irritation, particularly in individuals with sensitive skin. To prevent adverse reactions, always conduct a patch test on a small area of skin before applying garlic to the skin tag.
- Consult a Professional: If you have any doubts about using garlic or if you’re dealing with underlying skin conditions, it’s advisable to consult a dermatologist before attempting any home remedies.
- Hygiene: Throughout the entire process, maintaining proper hygiene is essential to prevent infection or the exacerbation of existing skin issues.
- Discontinue Use: Should you experience severe irritation, pain, or an allergic reaction during the application of garlic, discontinue its use immediately and seek prompt medical attention.
Alternative Methods
While garlic is a well-known natural remedy, there are alternative methods you can consider for skin tag removal:
- Tea Tree Oil: This essential oil is renowned for its potent antimicrobial properties. Some believe that applying diluted tea tree oil to a skin tag might contribute to its removal.
- Apple Cider Vinegar: The natural acidity of apple cider vinegar is thought to gradually break down the tissue of the skin tag. Applying a small amount using a cotton ball and securing it in place could aid in the process.
- Over-the-Counter Products: The market offers a variety of over-the-counter solutions specially formulated for removing skin tags. Look for products containing salicylic acid or other active ingredients that can gradually break down the skin tag tissue.
Conclusion
Embracing the potential of garlic for skin tag removal represents a natural approach rooted in its antimicrobial and anti-inflammatory properties. While anecdotal evidence suggests success for some individuals, it’s crucial to exercise caution, perform patch tests, and consider alternative methods. If you’re uncertain about the approach or have any concerns, consulting a dermatologist is the best way to ensure a safe and effective process for skin tag removal. Always prioritize your skin’s health and well-being in your pursuit of natural remedies.


